How to make a light and efficient wood-burning stove with your own hands for hiking
You can buy a wood-burning stove on Amazon for $70-80. But we offer you to make one for free.
If you are a hiker, you know how important it is to have an efficient and reliable source of fire while hiking. Without it, you won't be able to cook food, boil water, or keep warm in bad weather.
Since ancient times, people have been warming themselves with the help of a fire. However, this method requires a fairly large amount of firewood, some skills, and is not very good in terms of ecology and safety. Therefore, they have been replaced by modern gas and gasoline burners, which allow you to solve all cooking problems as comfortably as possible. However, this solution also has its drawbacks. For example, if you are going on a multi-day hike, the weight of gas cylinders or gasoline containers can be quite significant, and no one wants to carry extra weight. Or, for example, you are going to fly by airplane, where, as you know, you cannot carry such things, so you need to buy gas and gasoline on the spot, which is not always possible.
Therefore, an increasing number of tourists are buying or making wood-burning stoves.
They combine all the advantages of a campfire with the utmost simplicity and comfort of a burner. To use such a stove, you will need a minimum amount of fuel of almost any kind: firewood, branches, cones, leaves and even dry grass. Therefore, you can use a wood stove in any mountainous area. And most importantly, it has excellent efficiency, which allows you to boil a liter of water with just a few dry chips. This is due to the special design of such a stove, which uses the phenomenon of wood pyrolysis.
If you are interested in such a device, you can buy one of the finished products on Amazon. Or you can spend one hour and make a wood stove yourself, because you only need three cans of different sizes and our instructions.
So, first of all, you will have to get three cans of different sizes. The first, the largest, will serve as a shell. The second jar is smaller because it needs to fit freely in the first. And the last, the smallest, will be useful as a burner. In addition, we need a marker, a drill, metal scissors and a small wooden block.
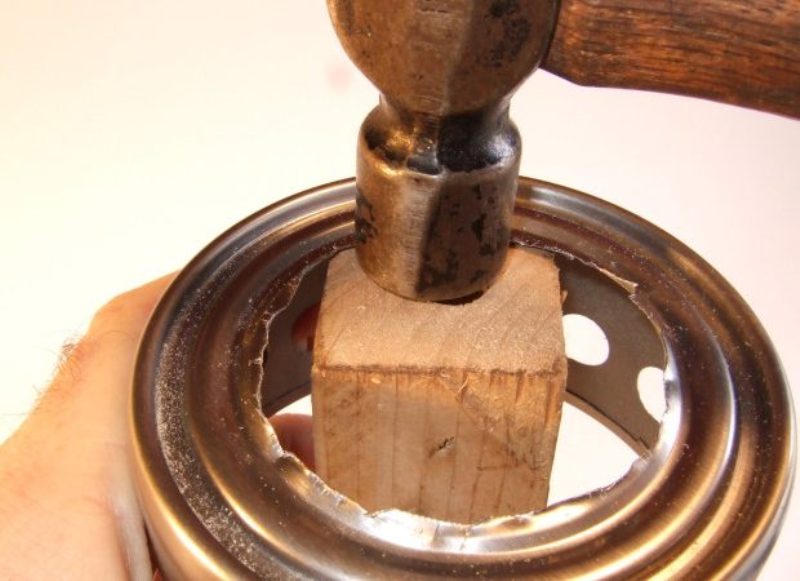
1. We make an auxiliary device.

This wooden block is not part of the stove, but is used for its manufacture. It will make it easier for you to drill holes and perform other operations. Insert the block into the jar and draw two lines with a marker at approximately the level of the lid.
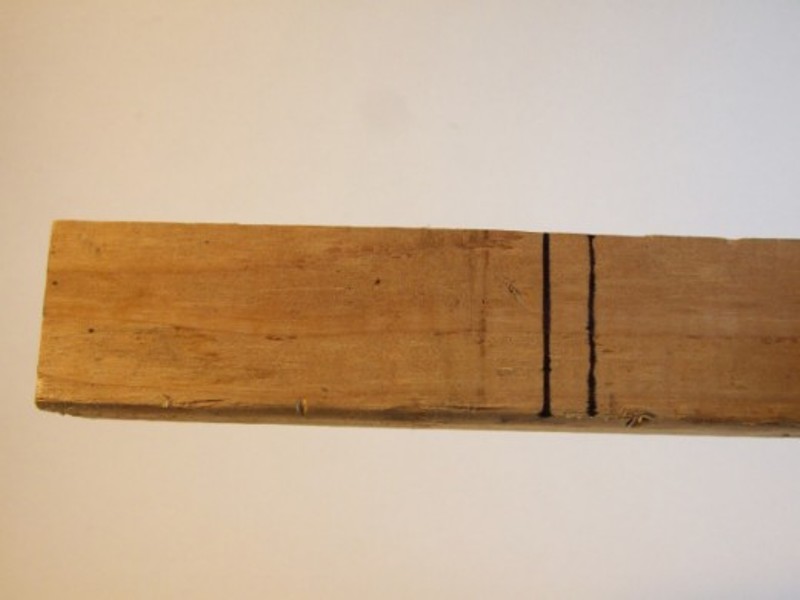
The distance between the lines should be about 7-8 millimeters.
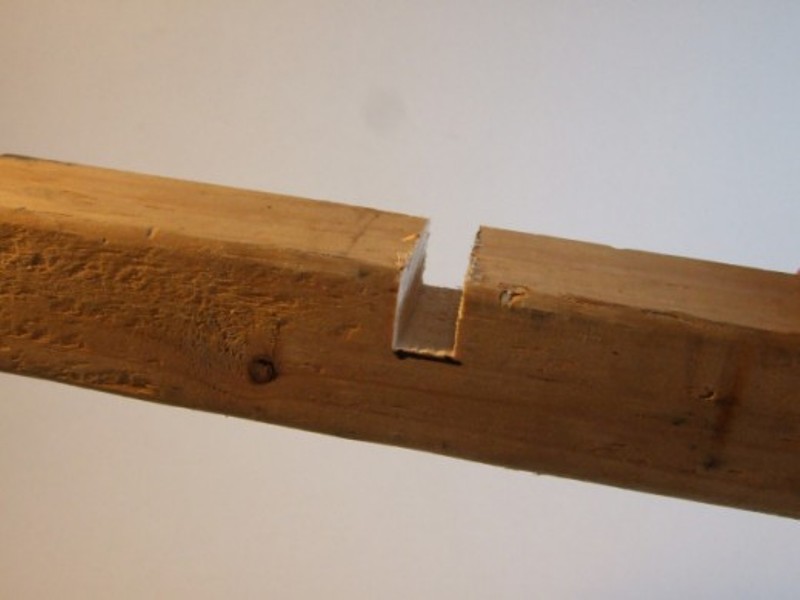
Carefully cut a rectangular notch. The top edge of the jar should fit freely into this notch.
Position the wooden block in such a way that it provides reliable support for the jar. The top edge should fit comfortably in the recess we have made.
2. Make holes in the bottom of the large jar
First, draw a line along the bottom edge of the jar. This line is needed to mark the points for the ventilation holes. In this case, a special dye is used for marking, but nothing will happen if you do it with a simple marker.
Drill holes along the line we have marked. Their number and size are important for the operation of the stove. If there are too few of them, there will be no draft, if there are too many, the wood will burn very quickly. Therefore, it is better not to overdo it here in order to be able to drill more holes after the tests.
3. Drill a series of holes in the top of the middle can
Do approximately the same manipulations with the second jar (smaller). Note that here the row of holes is located at the top, not near the bottom, as in the previous case.
4. Drill the bottom of the middle jar
Make many holes in the bottom of the jar. Their size and number should be such that the firewood cannot fall out through them.

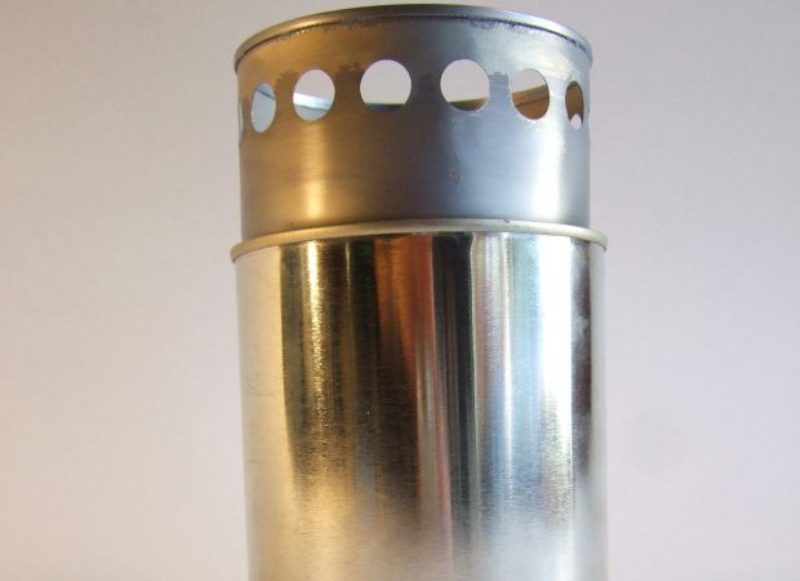
5. Assemble the structure

Insert the middle jar into the large one.
As a result, our stove consists of two cans rigidly inserted into one another. At the same time, a small gap remains between their walls, which is necessary for air movement.
6. Making a burner
The type of burner in different designs may differ slightly. In this case, the option with round holes in the side wall is used. You have already learned how to make them in the previous steps.
Cut out the bottom of the small jar with metal scissors.
The edges can be leveled with a hammer and filed.
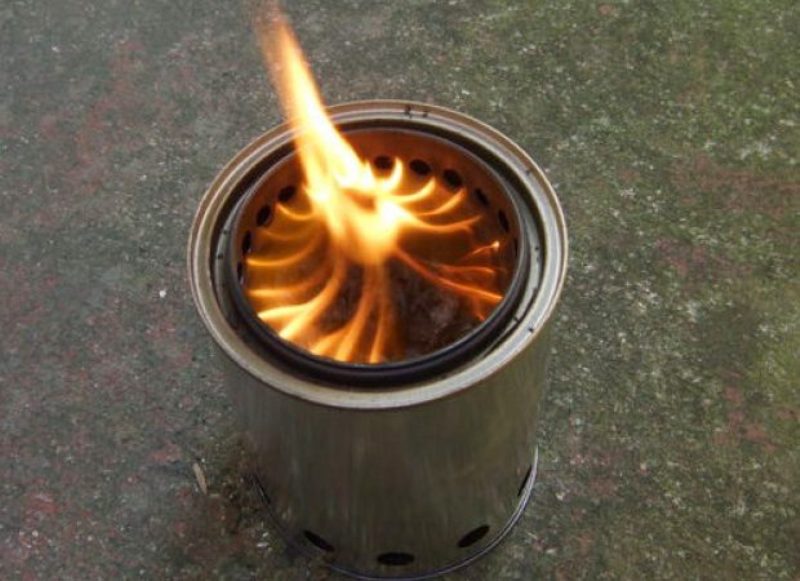
7. We conduct the test.
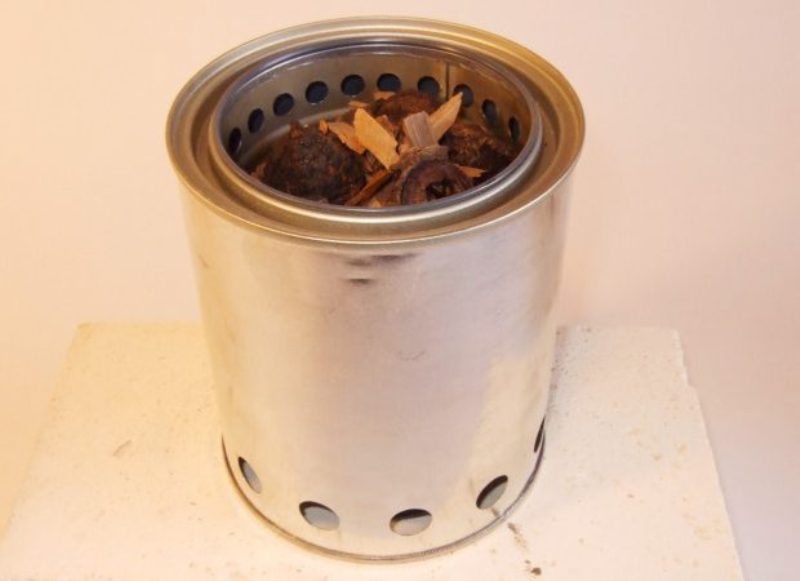
The main part of the wood stove consists of two tin cans inserted one into the other. We load combustible material into the middle can, which can be used as chips, branches, cones. It is best to use dry twigs from trees, as those lying on the ground may be damp.

Light it and wait for it to catch fire. At first, you may have difficulties, but after a few practice sessions, you will be able to do it with just one match.
When a steady, intense burning has begun, we put the burner we made from a small jar on top. And then place a kettle or saucepan on top.
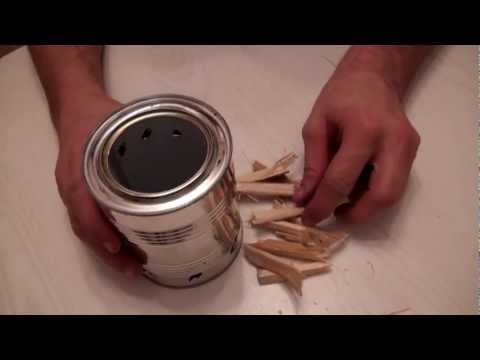
If you watched the manufacturing process to the end and did not understand anything or it seemed too complicated, then check out another option. The video below demonstrates how to make such a stove without any tools other than an ordinary knife. It may not be as neat, but it is no less practical.
And to all our readers who have already used such stoves in the field, we invite you to share your impressions and advice with us.
References used: https://lifehacker.ru/2014/07/05/drov...